Running a new check
Running a new check
Click the green Run check button. The check configuration modal opens.
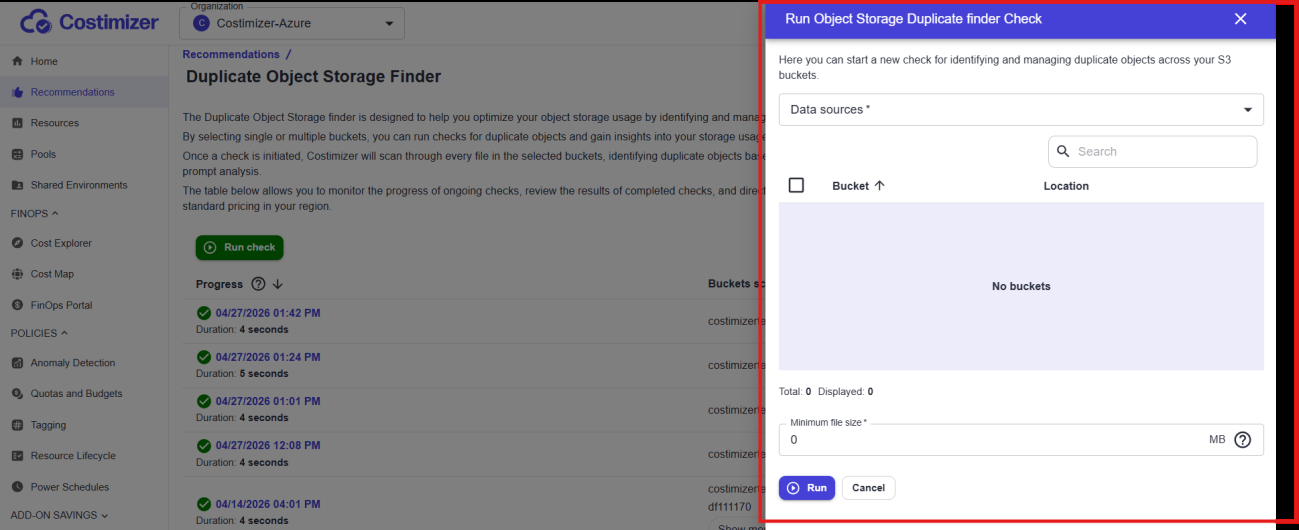
Step 1: Select a data source
Click the Data sources dropdown (required, marked with *). A list of your connected cloud accounts appears. Each entry shows the cloud provider icon and the account name.
Select the account that contains the buckets you want to scan. The bucket list below updates immediately to show all storage containers in that account.
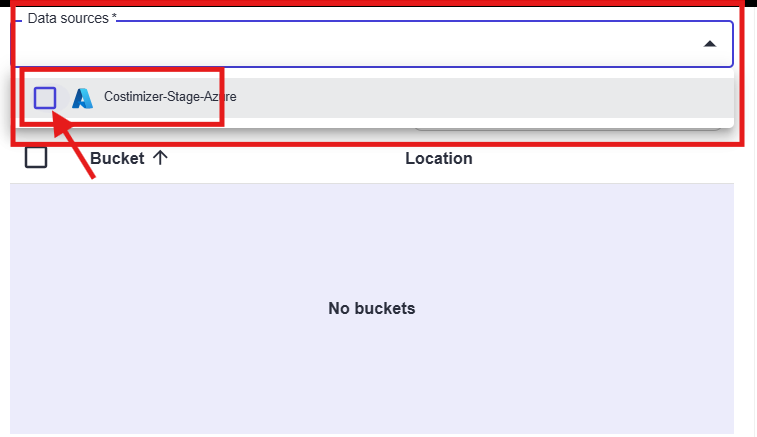
Multi-account scanning: You can select multiple data sources to scan across accounts in a single check. This is useful when the same files have been replicated across different buckets or paths. The bucket list updates to show all containers from all selected accounts.
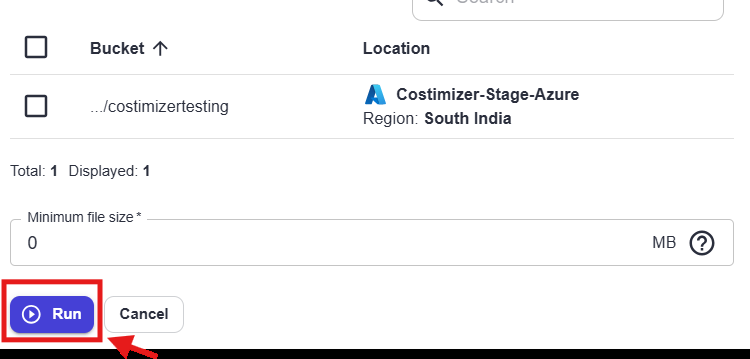
Step 2: Select buckets
Once a data source is selected, the bucket list populates with all available storage containers. Each row shows:
- Bucket name — The container name (for example,
.../costimizertesting) - Location — The cloud provider and region (for example, Costimizer-Stage-Azure / Region: South India)
Check the box next to each bucket you want to include in the scan. You can select all buckets using the header checkbox or pick individual ones. The Total / Displayed count at the bottom of the list updates as you filter.
Use the Search field inside the list to filter by bucket name if you have a long list of containers.
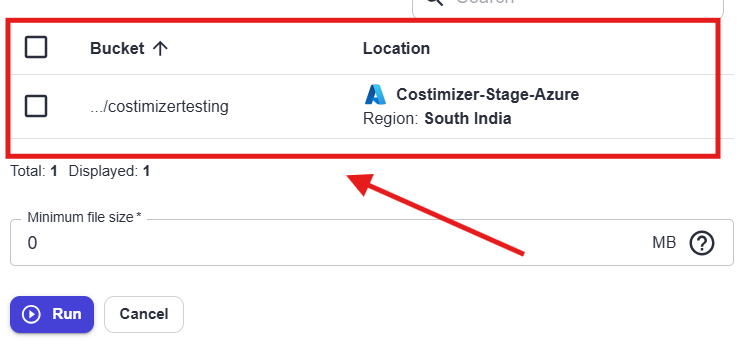
Step 3: Set minimum file size (optional)
The Minimum file size field at the bottom of the modal filters out small files from the duplicate check. Default is 0 MB, meaning all files, regardless of size, are included.
Set this to a higher value (for example, 10 MB) if you only want to find duplicates that are large enough to be worth investigating. Filtering out tiny files also makes the scan faster on buckets with thousands of small objects.
Step 4: Click Run
Click Run to start the scan. The modal closes, and a new row appears at the top of the history table with a blue in-progress indicator. After which, the row updates with the full results.
Next step
Once a check completes, open its detail view — see Understanding the check detail view.